
Shape clay, add drainage, bisque fire, glaze, then final fire to finish.
If you want to learn how to make a ceramic kitchen sponge holder that looks clean, drains well, and lasts for years, you are in the right place. I’ve made dozens in home and community studios. This guide breaks down how to make a ceramic kitchen sponge holder step by step, with real-world tips, firing notes, and smart design choices that make daily use better.

What you’ll need
- Clay body Choose stoneware or earthenware that matches your kiln and glaze range.
- Basic tools Wire cutter, needle tool, rib, sponge, rolling pin, ruler, knife, and smoothing tool.
- Forms and supports A simple cardboard or wood template and a small jar or tube for shaping curves.
- Texture options Lace, stamp, or a scrap of burlap for grip patterns.
- Slip and scoring tool For strong joins.
- Kiln and shelves With kiln posts and stilts if needed.
- Glazes and underglazes Compatible with your clay and firing temperature.
- Safety gear Dust mask or respirator for sanding, heat-safe gloves for kiln work.
If you are new to clay and want to know how to make a ceramic kitchen sponge holder with minimal tools, this setup will do it.

Plan the design and size
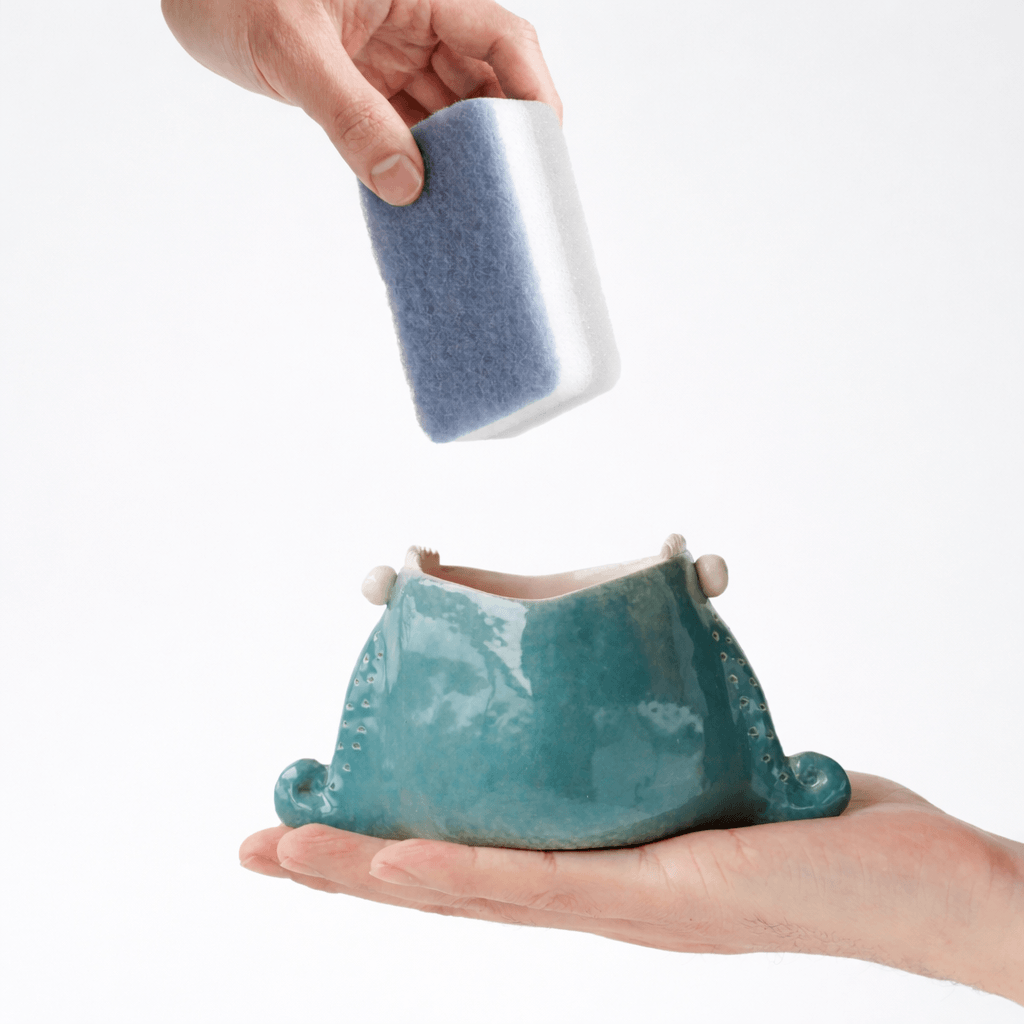
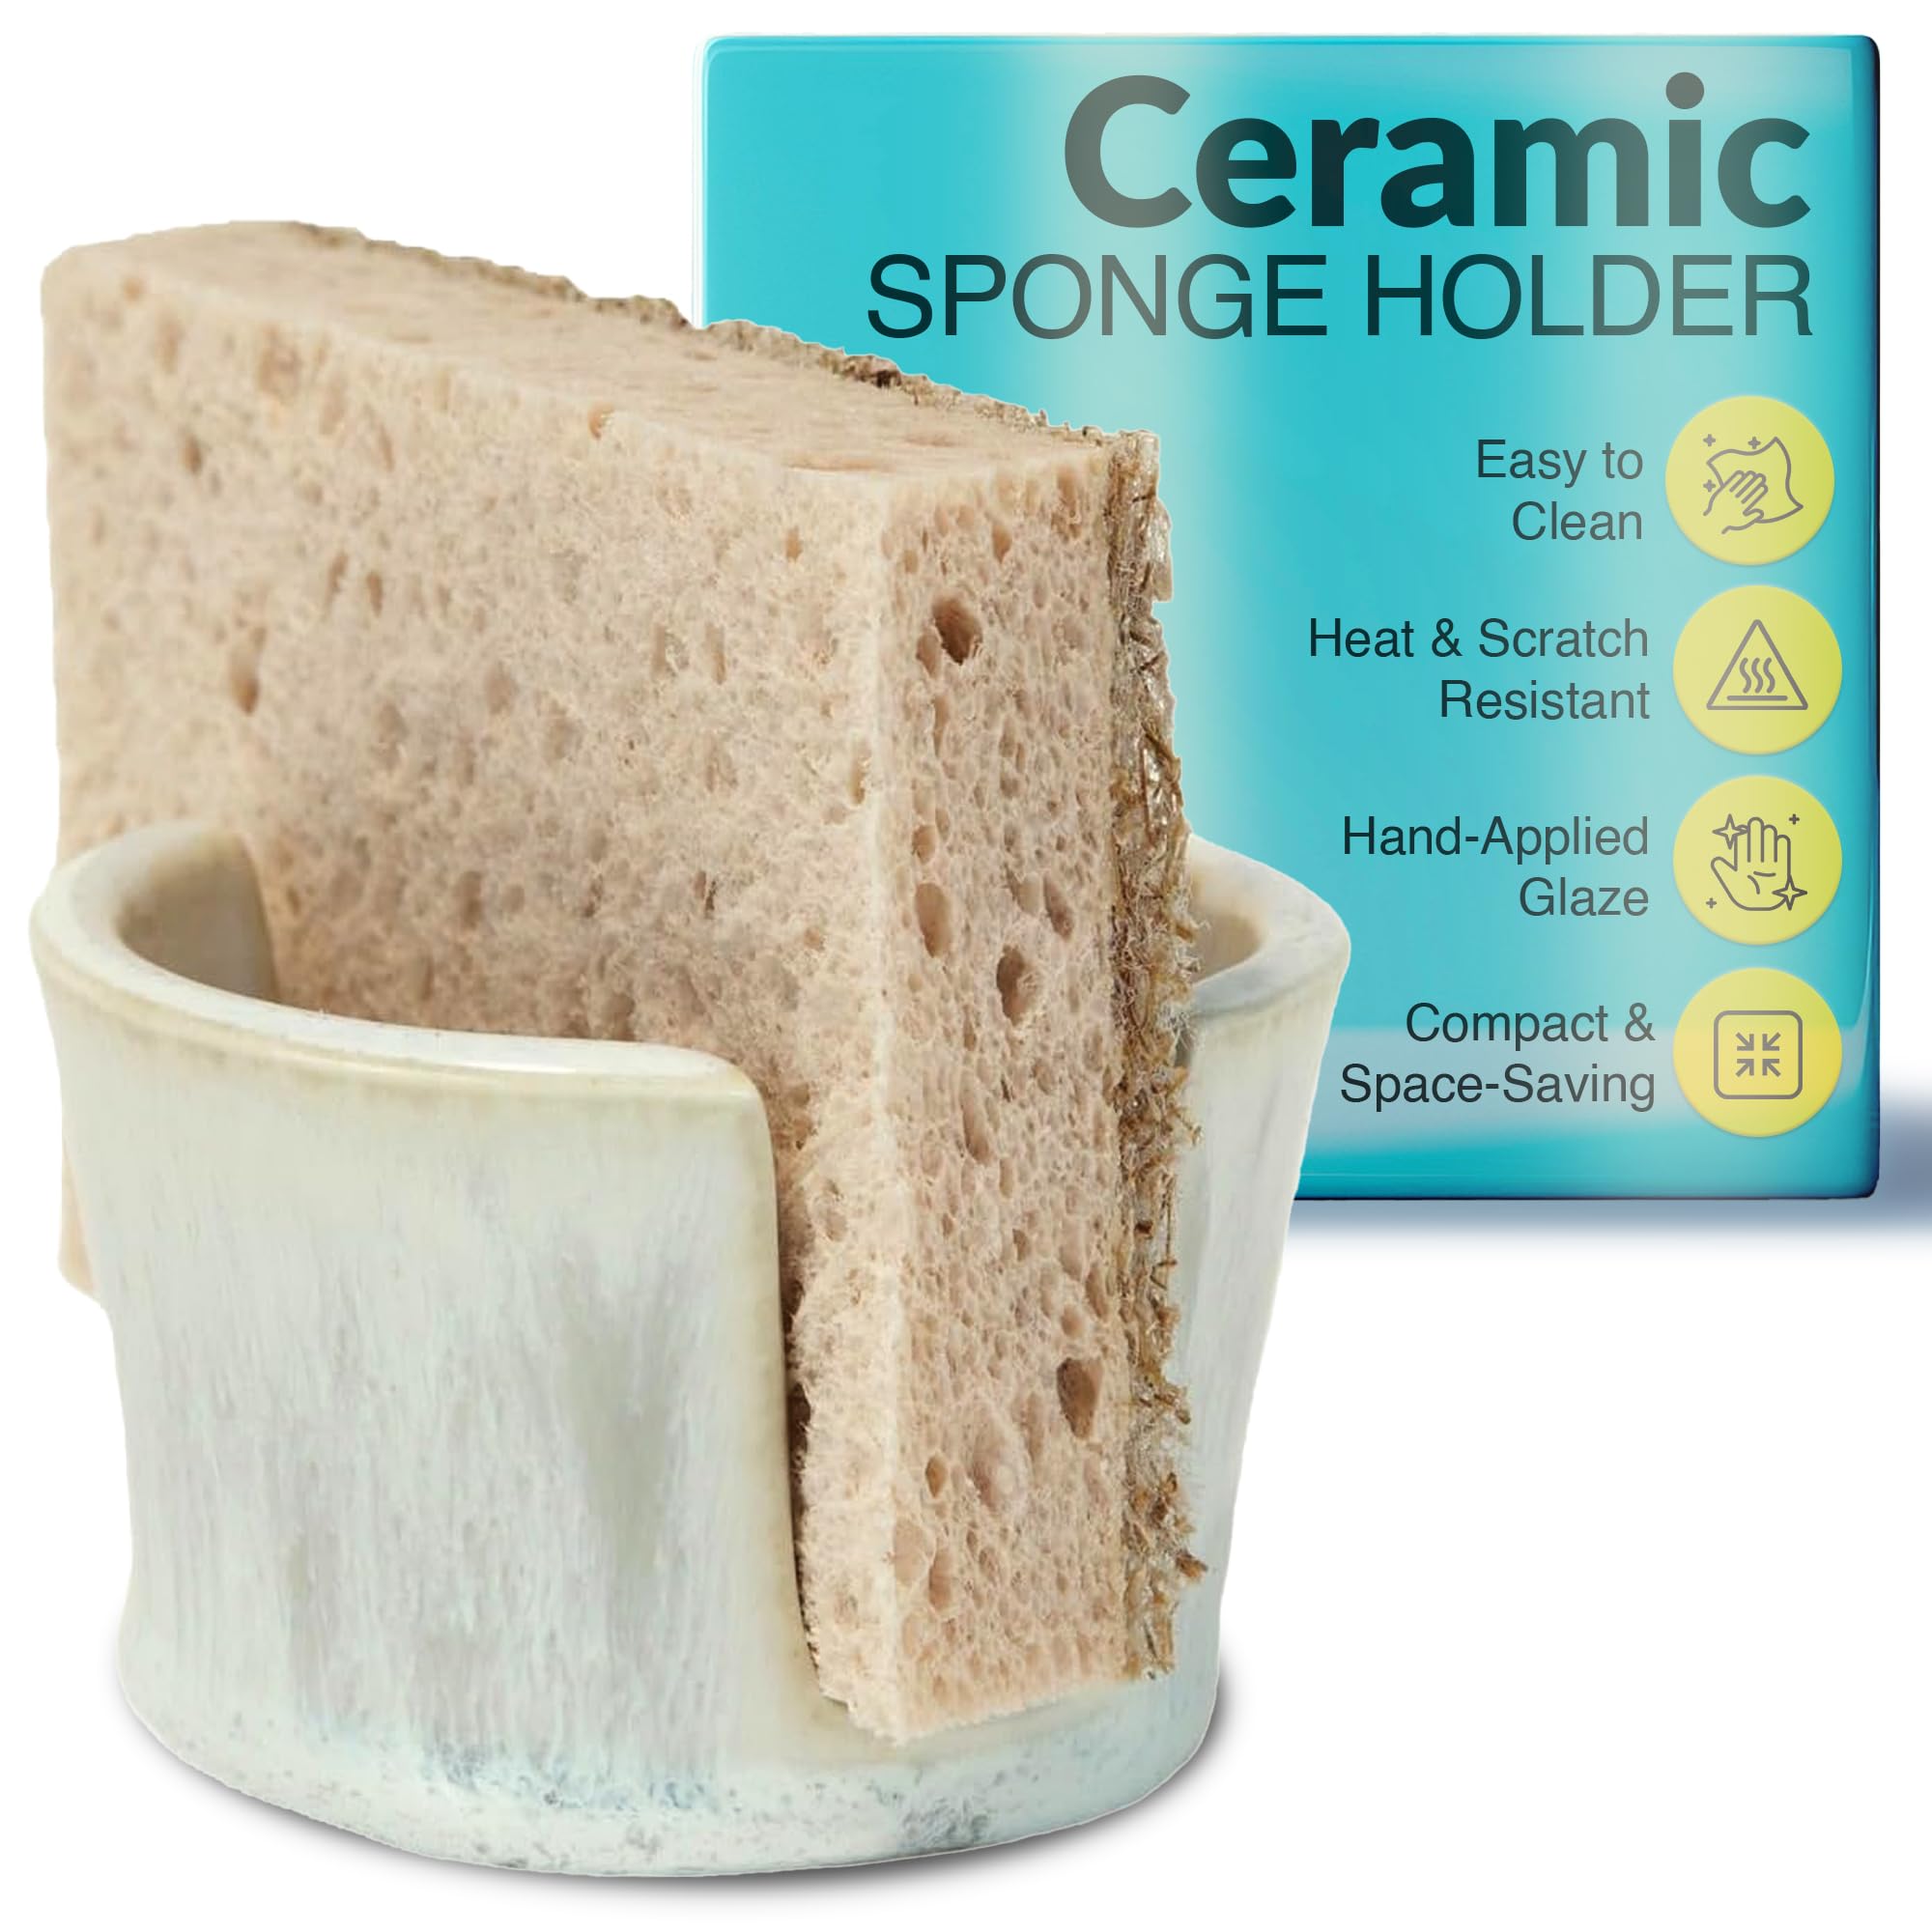
A good sponge holder does three things: holds the sponge upright, drains fast, and stays stable. Decide on the style first.
- U-cradle with feet Simple, open, and easy to clean.
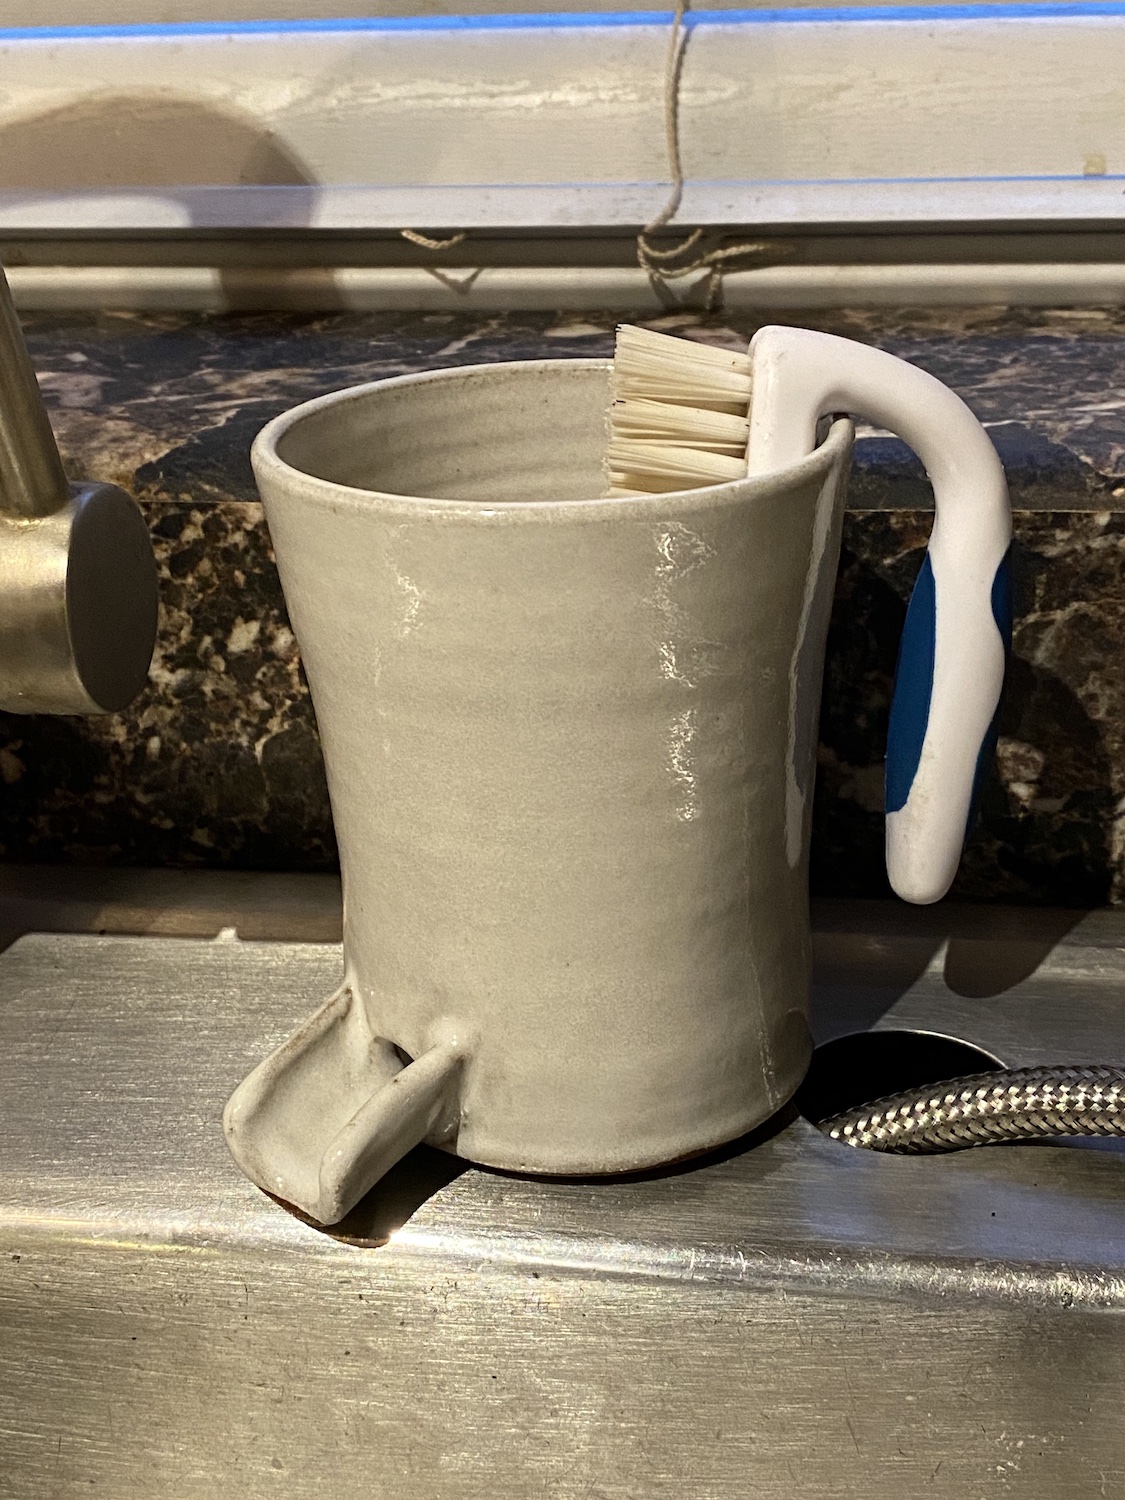
- Vertical slot with front opening Great airflow and fast drying.
- Caddy with saucer base Good for wet counters, catches drips.
Target sizes
- Length 3.5–4.5 inches.
- Depth 2–3 inches.
- Height 2.5–3.5 inches.
- Sponge slot width 0.75–1 inch for a standard kitchen sponge.
Key design features
- Drainage Add a front slot or bottom holes.
- Airflow Leave at least two open sides.
- Stability Use a low center of gravity and small feet or a wide base.
- Cleanability Avoid tight corners where grime can sit.
These choices shape every step of how to make a ceramic kitchen sponge holder that works as well as it looks.
Step-by-step: Hand-build method (slab build)
This path is simple and great for beginners. It is also fast.
-
Prepare the clay
- Wedge the clay to remove air.
- Roll a slab about 0.25 inch thick on canvas for grip.
- Let it firm up to soft leather-hard so it holds shape.
-
Make a paper or cardboard template
- Draw a rectangle 4 by 6 inches.
- Add a small tab for a join if you plan a wrapped form.
-
Cut and smooth
- Place the template on the slab and cut the shape.
- Compress both sides with a rib to reduce cracks.
-
Form the cradle
- Drape the slab over a small jar to create a gentle U curve, or stand it and bend the edges up.
- Keep the bottom flat for stability.
-
Add the base or feet
- Option A Add two or three small clay feet, 0.25 inch high.
- Option B Join a flat base and seal the seam inside with a coil.
-
Create the sponge slot and drainage
– Cut a shallow V or U on the front edge.- Or punch three to five 0.25 inch holes across the bottom.
- Smooth all cut edges so they do not snag the sponge.
-
Score, slip, and join
- Score all contact points. Use slip as glue.
- Compress seams with a rib or damp finger.
-
Refine
- Round corners for easy cleaning.
- Add a subtle front lip so the sponge stays put.
-
Texture or decorate
- Press a light texture on the outside only for grip.
- Keep the inside smooth for hygiene.
-
Slow dry
- Cover loosely with plastic for a day.
- Uncover and dry until bone dry. No cool drafts.
How to make a ceramic kitchen sponge holder that never wobbles: press it on a flat board while leather-hard to true the base. I learned early that even a tiny twist can make a holder feel cheap on the counter.

Optional: Wheel-thrown method
If you throw on the wheel, a small form works well.
- Throw a short cylinder with thick walls.
- Use a rib to create a waist near the base for stability.
- Slice out a front slot while leather-hard.
- Add a trimmed foot ring or three nubs for airflow under the base.
Wheel or slab, the same rules apply in how to make a ceramic kitchen sponge holder: strong joins, clean drainage, and a stable base.
Drying, bisque firing, glazing, and glaze firing
Drying
- Let the piece reach bone dry. Edges should feel room-temp and chalky.
- Dry slowly to reduce warping, especially if you used a base.
Bisque firing (typical schedule)
- Preheat 1–2 hours at about 180–200°F to drive off moisture.
- Ramp about 200°F per hour up to 1000°F.
- Then 300°F per hour to cone 04 (about 1940–1945°F). Hold 5–10 minutes.
- Cool naturally. Follow your kiln manual.
Glazing
- Wash dust off the bisque with a damp sponge. Let dry.
- Wax the base. Keep glaze off the bottom and out of drain holes.
- Use food-safe, kitchen-safe glazes rated for your clay body and cone.
Glaze firing (stoneware example)
- Ramp about 200°F per hour to 1100°F.
- Then 300–400°F per hour to cone 5–6 (about 2167–2232°F). Hold 5–10 minutes.
- Vent per kiln and glaze guidance.
Earthenware alternative
- Use cone 06–04 glazes if your clay is low-fire. Match clay and glaze range.
Safety and accuracy
- Ventilate the kiln. Use gloves and eye protection.
- Check clay and glaze technical sheets for compatibility, absorption, and firing range.
- This is the backbone of how to make a ceramic kitchen sponge holder that will not craze or leak.
Troubleshooting and pro tips
-
Warping at the base
- Cause Uneven drying or thin base.
- Fix Dry on a flat board. Keep even thickness. Compress slabs.
-
Cracks at joins
- Cause Poor scoring or joins that dried at different rates.
- Fix Score deep, use plenty of slip, and cover loosely for day one.
-
Glaze crawling
- Cause Dust, heavy application near edges, or oil from hands.
- Fix Clean bisque well. Apply thinner coats around drain cuts.
-
Pinholes or blisters
- Cause Trapped gases or underfired bisque.
- Fix Longer preheat. Slightly higher bisque cone or longer hold.
-
Drips on the shelf
- Cause Glaze on the base or inside drain holes.
- Fix Wax base, sponge away excess, and stilt only if glaze maker says it is safe.
Personal note
The first time I learned how to make a ceramic kitchen sponge holder, I over-glazed the slot and fused it to the shelf. Now I keep a bright wax line around the base and use a flashlight to double-check the drain holes before firing.
Finishing, care, and maintenance
- Sand sharp spots Lightly wet-sand bare ceramic edges after bisque, not after glaze, to avoid dust and chips.
- Clean Use warm soapy water and a soft brush. Rinse and air-dry.
- Hygiene Let the sponge dry between uses. The open design helps.
- Counter safety Add silicone feet or a thin cork pad if your counters scratch.
A clean finish is the secret in how to make a ceramic kitchen sponge holder that folks reach for every day.
Cost, time, and sustainability
-
Cost per holder
- Clay 0.5–1 lb, low cost.
- Glaze A few ounces.
- Firing Shared kiln loads keep costs down.
-
Time
- Build 30–45 minutes.
- Dry 2–5 days, climate dependent.
- Firing 1–2 days across bisque and glaze.
-
Sustainability
- Use durable stoneware to reduce replacements.
- Reclaim trimmings and failed parts before firing.
- Choose lead-free, kitchen-safe glazes.
If you track each step of how to make a ceramic kitchen sponge holder, you can batch 6–10 pieces with the same effort as 2–3.
Frequently Asked Questions
What clay is best for a sponge holder?
Stoneware is sturdy and absorbs less water than earthenware. Pick a mid-range clay if you fire at cone 5–6, or a low-fire earthenware if you only reach cone 06–04.
How big should the slot be for the sponge?
Aim for 0.75–1 inch wide for a standard sponge. Leave space for airflow so the sponge dries fast.
Can I food-safe glaze the whole piece?
Yes, but keep glaze off the base and out of drain holes. Use glazes rated food-safe by the maker and fire to the listed cone.
Why did my holder warp?
Uneven drying or thin slabs cause warping. Dry on a flat board, keep even thickness, and compress slabs with a rib.
How do I add drainage without weak spots?
Cut rounded slots or drill holes when leather-hard, then compress edges. Round cuts spread stress better than sharp corners.
Is there a fast way to learn how to make a ceramic kitchen sponge holder?
Start with a simple U-cradle slab, add two feet, and a front slot. It is forgiving, fast to build, and teaches all the core steps.
Conclusion
You now have a clear path for how to make a ceramic kitchen sponge holder that drains well, feels sturdy, and looks great. Plan your size, keep joins strong, dry slow, match clay and glaze, and fire with care.
Make one this weekend, then batch a small set to refine your shape and workflow. Share your results, ask questions, and subscribe for more studio-tested ceramic guides and firing tips.